
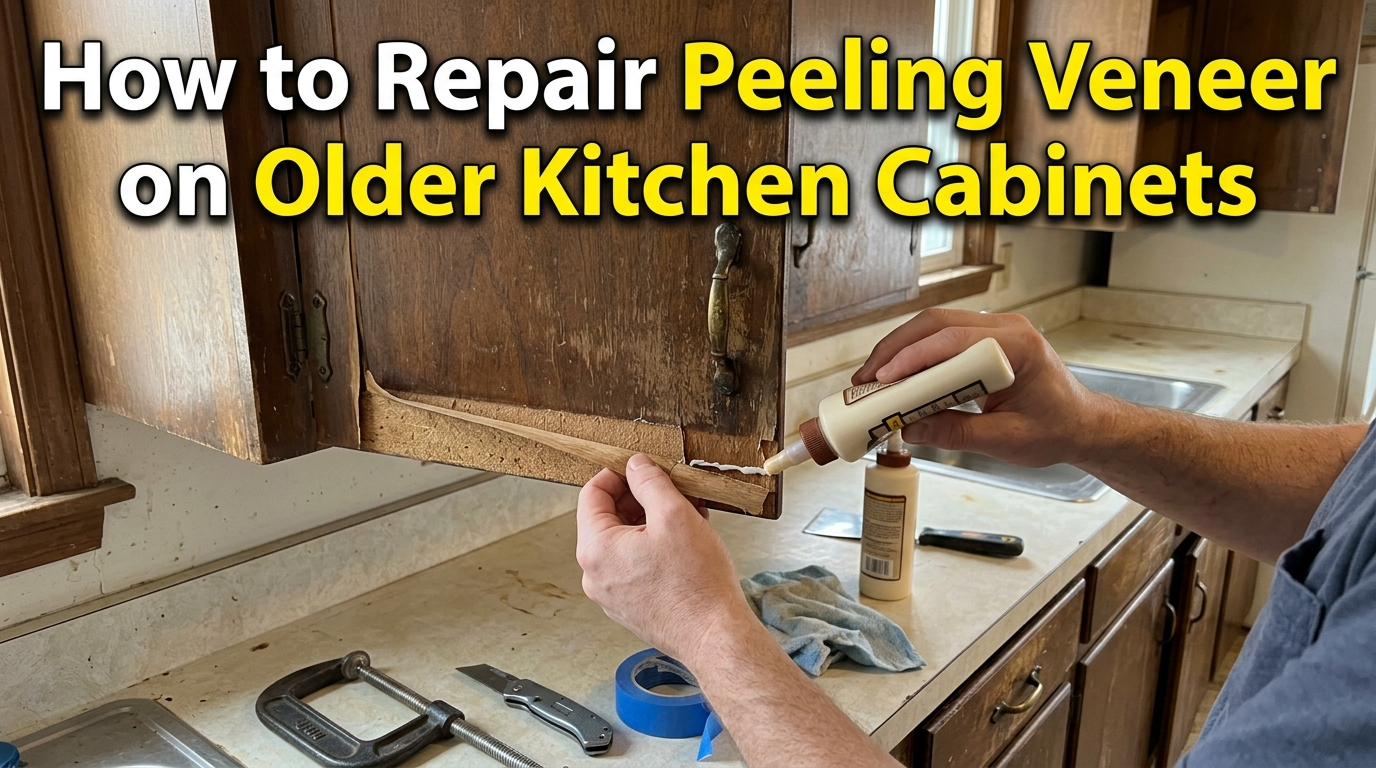
A veneer edge that lifts away from a cabinet door tends to snag on dish towels and sleeves, so it rarely stays small for long. Peeling veneer on kitchen cabinets can often be repaired at home, but the right method depends on three questions. Is the veneer still intact? Can it lie flat again without cracking? Is the material underneath firm enough to take a new bond? The article helps you understand how to reattach loose veneer, deal with a missing piece, and recognize the point where another round of glue stops making sense.
Identify What Is Actually Peeling
First, confirm that the layer is wood veneer. Real veneer is a thin slice of wood, so a lifted edge shows grain underneath. A failing topcoat looks different: it flakes in small, brittle chips and leaves bare or stained wood beneath. Thermofoil peels as a rubbery vinyl skin, and plastic laminate has a printed or solid surface with no real grain. If your cabinets are not wood veneer, the adhesive advice below may not apply.
Loose Edges, Bubbles, and Missing Sections
A lifted edge that is still intact and flexible is the friendliest case. A bubble or larger separated area is harder to judge by eye, so tap it lightly with a knuckle. A hollow, papery sound suggests the bond has let go. Cracked or brittle veneer may split the moment it moves. A missing section cannot be pressed back at all, because that repair fills a gap instead of regluing a layer.
Check the Veneer Before Choosing a Repair
Before any adhesive comes out, lift the loose edge only as far as it moves on its own and watch for cracks along the grain. If it rises easily and settles back into place when released, it is a good candidate for reattachment. If it resists or snaps, stop there.
Check the surface underneath next. Plywood, MDF, and particleboard can all hold a bond when the face is sound, but soft, crumbly, or springy material will not support new glue. Flaking adhesive can also interfere, and you need room to reach under the lifted section.
Leave the firmly attached veneer alone, since peeling away sound material only enlarges the problem. And never press a brittle layer flat just to see whether it will go.
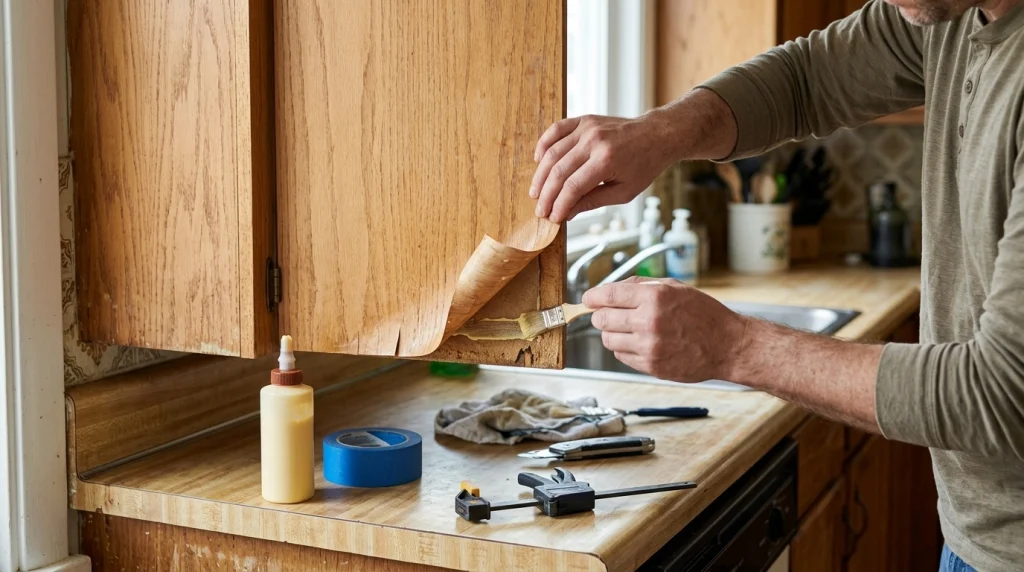
How to Reattach Loose Cabinet Veneer
Prepare the Loose Section and Select an Adhesive
Wood glue suits porous surfaces that can be held under steady pressure while it cures, though its water content can make thin veneer ripple. Contact cement grabs on touch and suits thin, broad areas where both surfaces can be coated, but it allows almost no repositioning and may need good ventilation. Neither fits every situation, and an older bond made with a different adhesive can change what will stick. Check the label for compatible materials first.
- Take the door off and clear loose debris. A flat door is easier to work on. Use a soft brush and a thin plastic scraper for crumbling old adhesive, with light pressure so the lift does not widen.
- Clean off grease and let the surface dry. A film of kitchen grease can stop new adhesive from gripping, so use a lightly dampened cloth and allow everything to dry fully.
Bond the Veneer and Hold It Flat
Follow the manufacturer’s directions for open time, pressure, and cure, since they vary by product.
- Dry-fit the veneer. Lower the lifted section into place without adhesive. If it will not sit flat now, glue will not change that.
- Apply adhesive thinly. Use a thin putty knife or the applicator the product recommends. Excess squeezes out and can leave a ridge or stain the finish, so clean it up promptly as the product directs.
- Press from the fixed area toward the loose edge. This pushes air out instead of trapping a bubble. With contact cement, align the surfaces before they touch, because the bond takes hold immediately.
- Protect the surface and apply pressure. Waxed paper keeps stray glue from bonding a caul to the cabinet, and a smooth, flat caul spreads clamping force so it does not dent the surface. Clamp or weigh it down only as far as the construction and the adhesive label allow.
- Leave it alone. Let the adhesive cure for the time the manufacturer specifies before rehanging the door or loading a drawer.
Repair Veneer That Is Chipped or Missing
A missing section changes the job, because a gap needs new material rather than glue. Before you trim, scrape, or lift anything, assess what remains. Fragments that fit together can sometimes go back where they came from, and cutting away usable edges only enlarges the patch.
When a patch is truly needed, it has to match in three ways. Thickness comes first: a patch thicker than the surrounding layer leaves a ridge, and a thinner one leaves a dip, so measure the exposed edge of the original. Grain direction matters because grain running the wrong way stands out. Appearance covers species, color, and aging, and fresh veneer often looks lighter than aged wood until it is finished.
To fit one, trace the damaged area onto a template, cut the patch with its grain matching the surrounding veneer, score around the damage with a sharp blade in light passes, and lift out the damaged piece without tearing the layer beneath. A seam that follows the grain hides better than a straight cut across it. Blending the finished patch usually involves cabinet refinishing, which is a separate project.
Avoid Mistakes That Can Make Veneer Damage Worse
- Forcing brittle veneer back into place, which cracks it along the grain
- Using too much adhesive, which squeezes out and stains the finish
- Sanding to level an edge, since veneer is thin enough to sand straight through
- Skipping the adhesive compatibility check
- Clamping unevenly, which can raise an edge or dent the surface
- Disturbing the repair before the adhesive has cured
| Repair caution: Do not press hard on a stiff, curled piece of veneer before testing how far it bends. A split along the grain stays visible even after gluing, and the job shifts from reattaching a layer to patching one. |
Know When a Veneer Repair May Not Hold
A small repair is only as good as what it is attached to. If the material beneath crumbles when pressed, or the veneer pulls chunks of the base away with it, new adhesive has nothing solid to grip. Veneer that breaks apart in your hands leaves little to reattach, and when most of a door’s surface has lost its bond, regluing one corner only moves the weak point elsewhere.
Repeat failure is another sign. If a carefully repaired edge lifts again, something is still working against the bond, such as heat and steam near a range or dishwasher, or a base too weak to hold.
At that stage, a veneer patch, a replacement door, or kitchen cabinet veneer replacement through refacing may make more sense than another attempt. A professional assessment can tell you which one the cabinets can support.
Questions About Repairing Peeling Cabinet Veneer
Can peeling cabinet veneer be repaired without replacing the door?
Often, yes, depending on whether the veneer can lie flat, whether the substrate is solid, and how much of the surface has separated. A lifted edge on a sound door is a reasonable candidate, while widespread separation or a crumbling core points toward a patch or a new door.
Is wood glue suitable for peeling cabinet veneer?
Sometimes. Wood glue can work when the lifted area is accessible, both surfaces are bare and porous, and the layer can be held flat while the glue cures. It may be a poor choice over old contact cement or where you cannot apply pressure. Check the adhesive maker’s instructions first.
Can missing cabinet veneer be replaced with a patch?
In many cases, yes. A patch fills the gap with new veneer cut to fit, so the work lies in matching thickness, grain direction, and color closely enough that the repair blends in.
Choose the Right Next Step for Your Cabinet Veneer
Repairing peeling veneer on older cabinets starts with checking the veneer and the surface beneath it. Lifted edges are often fixable; brittle veneer or a crumbling base needs another plan.
Kitchen Redux, based in Hanson, Massachusetts, serves homeowners across Massachusetts with cabinet restoring, cabinet refacing with new veneer, and cabinet door replacement. If the damage goes beyond a simple repair, the company offers a free in-home consultation to look over your cabinets and discuss options. Call at (774) 773-8387 for more information.